Your First VPN
This document describes how to create your first TunnelHound VPN. It assumes you’ve successfully set up your TunnelHound appliance, and are logged in as a super user.
Terminology
Before we create a VPN, let’s go over some terminology:
- An endpoint is a particular network destination (a UDP port) where your clients may send encrypted WireGuard® traffic that is to be delivered to your private network. Multiple endpoints correspond to multiple distinct VPNs.
- A user is an individual that has access to the TunnelHound self-service portal to manage access to the TunnelHound VPN. Users can log in with credentials (either a username and password or SSO) and can receive e-mail.
- Users may have multiple devices, which correspond to the various devices they use to access the VPNs (i.e., phones, computers, tablets, etc). Each device is identified by the TunnelHound appliance by a public key. Only the user’s devices ever see their private keys. Devices belong to endpoints and represent a connection to a single VPN. Users may have multiple devices that belong to different endpoints.
To create your first VPN, we’ll need to an endpoint and a device.
Creating an endpoint
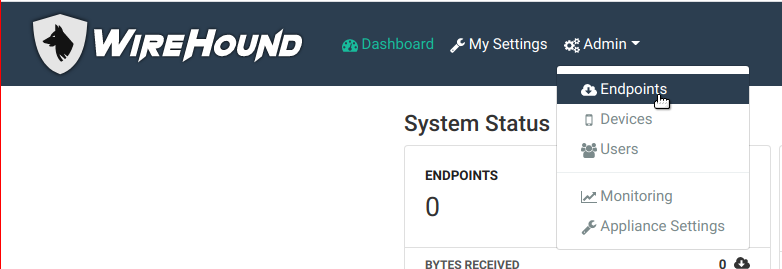
We’ll start by creating an endpoint. As a superuser, navigate to the Admin menu in the upper navigation bar, and click on the endpoints item.
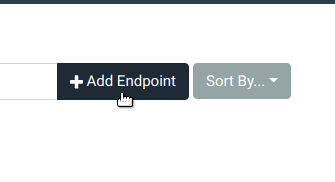
Then, click the add endpoint button to the right of the search bar.
You will see the following popup:
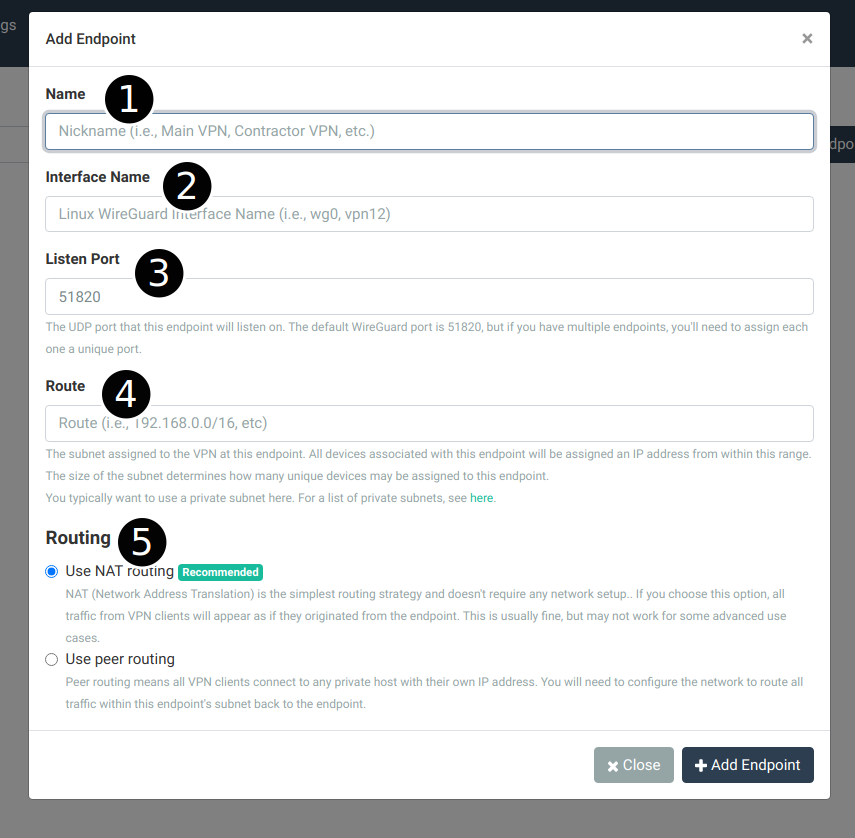
Configure the endpoint as follows:
- Name – type in a friendly name for this VPN
- Interface Name – this is the Linux network interface name corresponding to this endpoint. Something like
vpn0orwg0is appropriate. - Listen Port – The UDP port on which to listen for WireGuard® traffic for this endpoint. The default is usually okay but any UDP port will do. Note that you will need to open up this port in your cloud provider’s network to receive incoming UDP traffic.
- Route – The IPv4 subnet assigned to the VPN. Devices that correspond to this endpoint must have an IP in this range. If not provided, an IP is generated for a device from this range. It’s best to be realistic about the size here. Consult this page on private subnet ranges available for your use.
- Routing – The default routing mechanism is NAT routing, which is good enough for most networks and doesn’t require any external configuration. See the article on routing for more information on making a choice here.
For a full breakdown of all the options, see the endpoint guide
Creating a device
Once the endpoint is created (and you’ve opened any ports necessary), you can create a device for yourself or another user.
The easiest is to create a device for yourself. Begin by navigating to the TunnelHound dashboard, by clicking the Dashboard button in the top navigation bar.

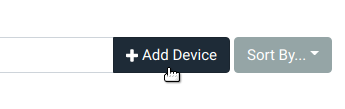
Then, click the ‘Add Device’ button next to the device search bar.
You’ll see the device configuration dialog pop up.
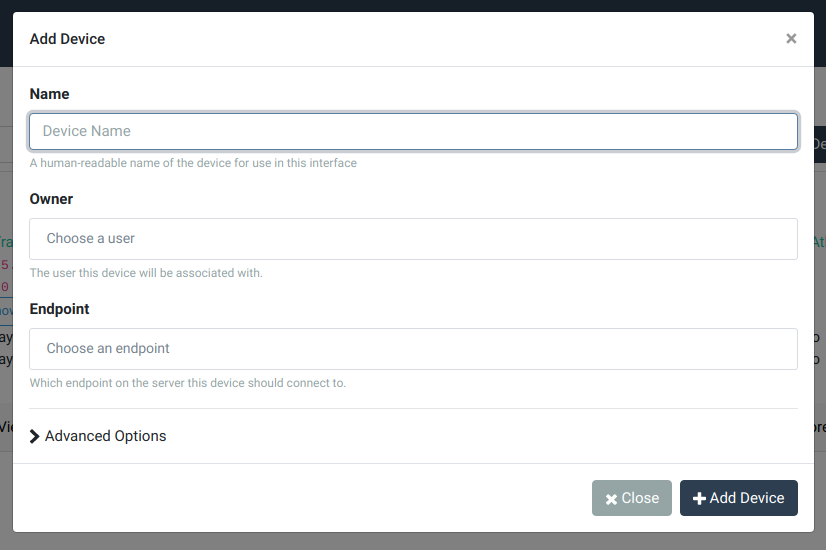
Configure the device as follows:
- Name – a human-readable name for this device. This doesn’t need to be unique, but will help you remember which of your devices this entry corresponds to. Examples are My Laptop or Android phone.
- Endpoint – choose the endpoint created above by selecting it from the dropdown.
For a full breakdown of all the options, see the device guide
When configured, click the ‘Add Device’ button to complete. You should now see a dialog explaining how to set up your new TunnelHound device. Follow the instructions and enjoy your new network.
You can quickly check whether or not you’re connected by running the ping command.
ping <gateway ip>
The gateway IP is the private IP of the appliance in the WireGuard network. This is the second IP address in the Route subnet you configured above. For example, if your route is set at 10.4.0.0/16, then the gateway ip is 10.4.0.1. You can look up the CIDR range by using this tool.
Troubleshooting
I cannot send traffic I can’t connect to the WireGuard endpoint
If the ping command above does not work, make sure you have exposed the Listen Port for your endpoint in your cloud firewall or your Docker container. For Docker, make sure the host and container port match.
Otherwise, it’s possible there is a firewall blocking ICMP traffic. Try accessing the TunnelHound appliance via the gateway IP defined above, by visiting https://gateway.ip/ in the browser. You should see the TunnelHound appliance site.